How to Trim a Video Online Without Losing Quality
Why trimming can reduce video quality, how lossless cuts work, and the settings to use in online trimmers, desktop editors, and FFmpeg.
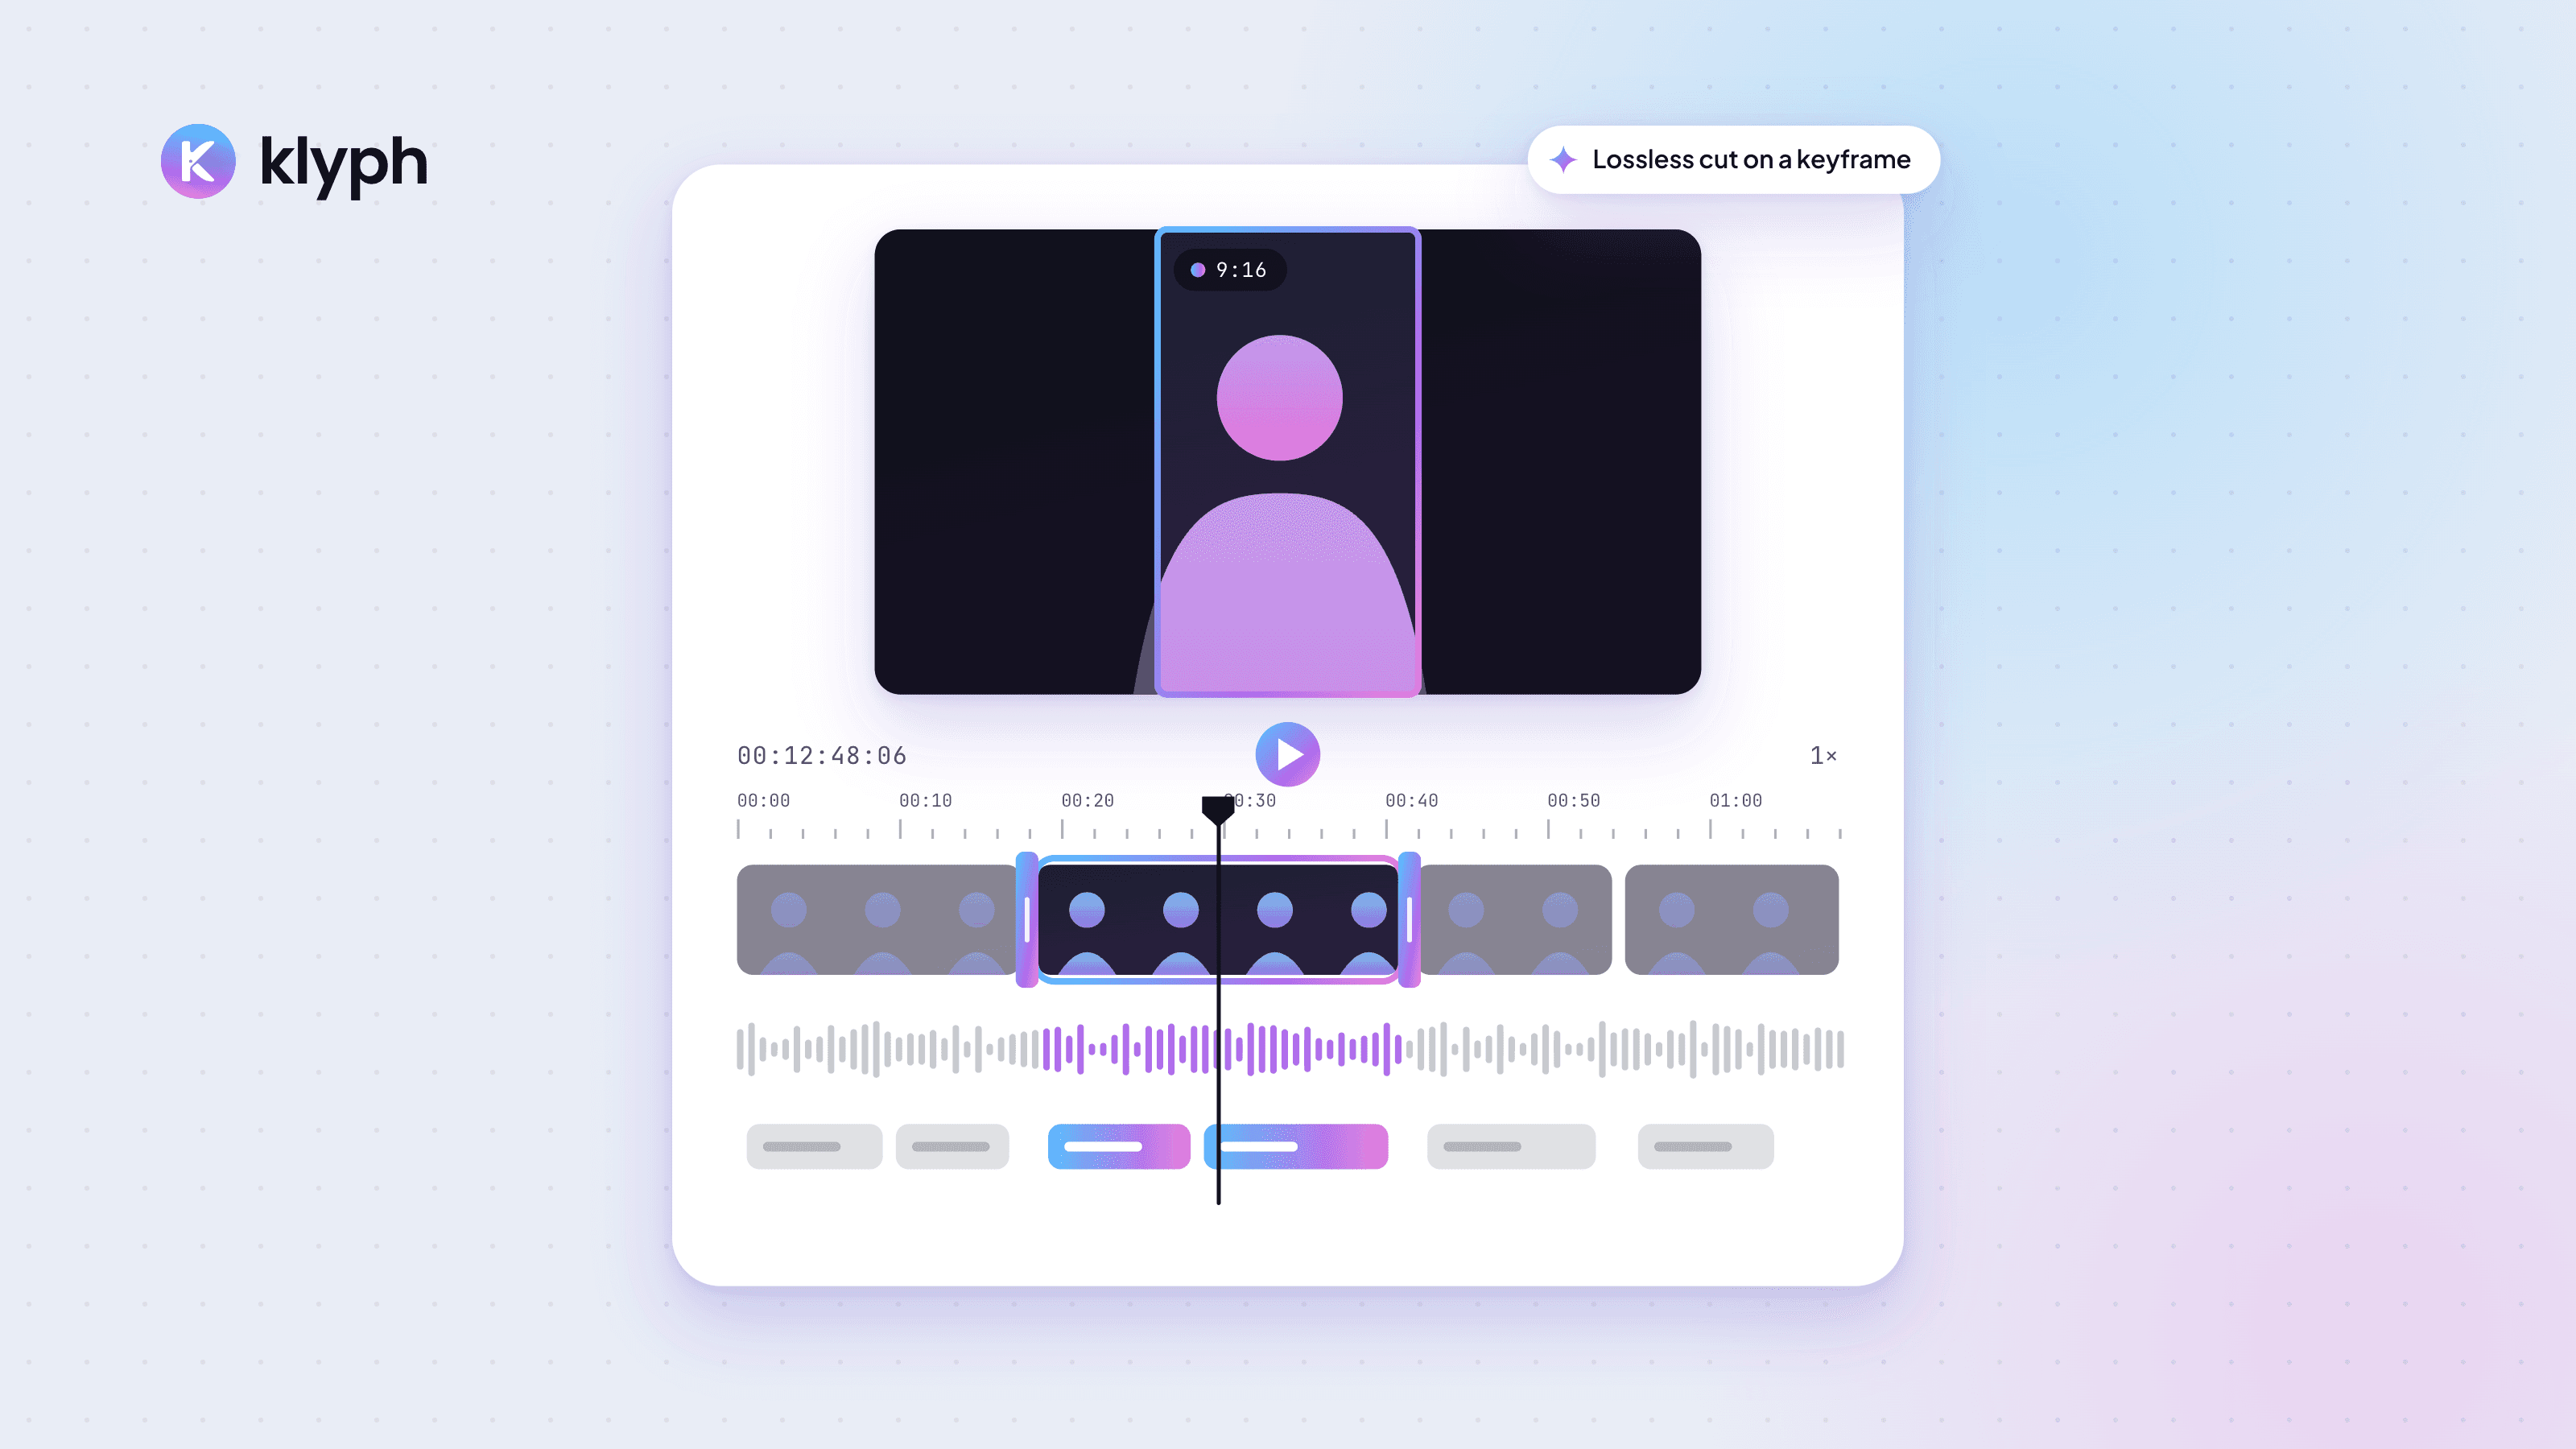
If you want to trim a video online without losing quality, the main thing to understand is re-encoding. Cutting a few seconds off the start or end doesn't damage a video. Compressing it again on export does. Choose a method that avoids that second compression, or keeps it minimal, and your trimmed file will look the same as the original.
This guide explains what happens when you trim, which methods are lossless, and which settings to check in whatever tool you use.
How do you trim a video online without losing quality?
To trim a video online without losing quality, start from the original file, set your start and end points, and export with settings that match the source: same resolution, same frame rate, and a bitrate at least as high as the original. The best case is a trimmer that copies the video stream without re-encoding it. That method is lossless, but it can only cut cleanly at keyframes, so the start point may shift by a fraction of a second. If you need a cut on an exact frame, the tool has to re-encode at least part of the video. In that case, pick the highest quality setting it offers and export once. Don't trim, export, and trim again, since each round of compression loses a little more detail. Before you upload, check the tool's file size limit and whether it adds a watermark or lowers the resolution on export.
Why does trimming a video reduce quality?
Most video files are compressed with codecs such as H.264, HEVC, or AV1. Compression is lossy: the encoder throws away detail it expects you won't notice. When an editor exports your trimmed video, it usually decodes the original and compresses it again from scratch. That second pass removes more detail, and the loss shows up as blockiness, smeared motion, or banding in gradients.
Three things make it worse:
- A low export bitrate. Many tools default to a "web" or "small file" preset.
- Downscaling. A 4K file exported at 1080p loses resolution, even if it looks fine on a phone.
- Repeated exports. Every re-encode compounds the loss from the one before.
What is the difference between lossless and re-encoded trimming?
There are two ways to trim a video, and each has a tradeoff.
| Method | Quality | Cut accuracy | Speed | When to use it |
|---|---|---|---|---|
| Stream copy (lossless) | Identical to source | Snaps to the nearest keyframe | Very fast | Removing a long intro or outro where a fraction of a second doesn't matter |
| Re-encode at high quality | Close to source if settings are high | Exact frame | Slower | Clips where the first word or frame has to be exact |
| Re-encode with default settings | Often visibly worse | Exact frame | Fast | Avoid it when quality matters |
Keyframes are full images stored every so often in the stream. The frames between them only store changes. A lossless trim can't start on an in-between frame without rebuilding it, which is why stream copy cuts snap to keyframes.
Step by step: trimming with an online video trimmer
Online trimmers are the quickest option when you don't want to install anything. Here's how to get the best result from one:
- Use the original file. Upload the export from your camera, phone, or recording tool, not a copy you downloaded from a social platform. Those copies are already re-compressed.
- Check limits before you upload. Look for the maximum file size, supported formats, and whether free exports have a watermark.
- Set the start and end points. Scrub to the exact moment, then nudge frame by frame if the tool allows it.
- Match the export settings to the source. Keep the same resolution and frame rate. If there's a quality slider, set it to the highest option.
- Export once and compare. Play the original and the trimmed file side by side at full screen. Look at fast motion and dark areas, where compression artifacts show first.
Klyph has a free online video trimmer for quick start and end cuts like this. If you are cutting several clips out of one long recording, see how to turn a long video into short clips for the full workflow.
How do you trim a video losslessly with FFmpeg?
FFmpeg is a free command-line tool that runs on Windows, macOS, and Linux. It gives you direct control over whether the video is re-encoded.
Lossless trim (stream copy). This command starts at 1 minute 30 seconds and keeps 75 seconds of video, copying both streams without re-encoding:
ffmpeg -ss 00:01:30 -i input.mp4 -t 75 -c copy output.mp4
The output keeps the source quality exactly. The start may land on the nearest keyframe instead of the exact timestamp.
Frame-exact trim with a high-quality re-encode. This version re-encodes the video with x264 at a low CRF value, which means high quality, and copies the audio as-is:
ffmpeg -ss 00:01:30 -i input.mp4 -t 75 -c:v libx264 -crf 18 -preset slow -c:a copy output.mp4
A CRF around 18 is generally considered visually close to the source for H.264. Lower numbers mean bigger files and higher quality. The slow preset spends more time encoding to get better quality at a given file size.
What about desktop editors?
Desktop editors such as DaVinci Resolve, Premiere Pro, and Final Cut Pro all re-encode on export by default. To keep quality high:
- Match the timeline to the source. Same resolution and frame rate as your footage.
- Raise the export bitrate. Use a high-quality preset or set the bitrate at or above the source bitrate.
- Export to a high-quality master if you plan further edits, then make the final compressed file from that master.
On a Mac, QuickTime Player also has a basic trim under Edit > Trim, which is enough for a quick cut off the start or end.
Which mistakes cost the most quality?
- Trimming a downloaded copy. Social platforms compress uploads. Start from the original.
- Exporting at a lower resolution than the source. Check the output size before you hit export.
- Changing the frame rate. Converting 60 fps to 30 fps drops frames. Converting 24 to 30 can add judder.
- Re-exporting the same file several times. Keep your original and make every new version from it.
Once your clip is trimmed, the next question is usually how long it should be. Our guide on the best video length for TikTok, Reels, and Shorts covers platform limits and how to test lengths. To go from long recordings to captioned vertical clips in one place, the getting started docs show a first Klyph project, and use cases covers the source types.
Frequently asked questions
Does trimming a video reduce its quality?
Trimming itself doesn't. Quality drops when the tool re-encodes the video on export, especially at a low bitrate or a lower resolution. A stream copy trim keeps the original quality exactly. A re-encode at high settings comes close to it.
What is a lossless video trim?
A lossless trim copies the compressed video and audio streams into a new file without decoding and re-encoding them. The result is identical in quality to the original. The tradeoff is that cuts can only land on keyframes, so the start may move slightly.
Why does my trimmed video start a little early or late?
The trimmer probably used stream copy, which can only cut at keyframes. If you need the exact frame, re-encode the clip at high quality, or use a tool that re-encodes only the short section before the first keyframe.
What export settings keep the best quality?
Match the source resolution and frame rate, use H.264 or HEVC at a high bitrate or a low CRF value, and export only once. Avoid presets labeled for small files or fast sharing when quality matters.
Can I trim a video on my phone without losing quality?
Built-in trim tools on phones are usually fine for quick start and end cuts. Results vary by app, so compare the trimmed file with the original at full screen. For important footage, trim on a computer where you can control the export settings.